
In this article we will explore the chalice cli command and how we can work with it.
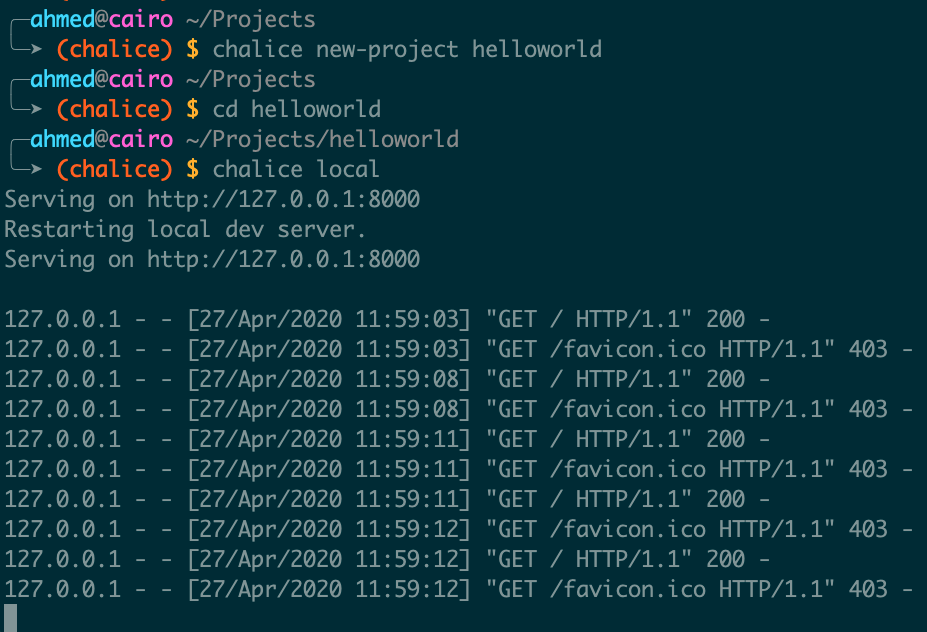
In the previous article Introduction to AWS Chalice we went through creating our hello world example. we will continue from there and explore the CLI
To print different targets we have in chalice CLI, you can just type
chalice --helpnow we will go through each one of the command targets chalice has
Create new project
You can simply create new chalice project from command line, this will create a new directory with the bare minimum files necessary to deploy and get your application up and running.
chalice new-project <project name>
cd <project name>
Local development
Chalice is developer friendly, you can run your api locally before pushing to AWS
chalice localChalice will be running on port 8000 by default, you can start making requests to localhost
curl -X GET http://localhost:8000Deploy to AWS
You can simply deploy to AWS using the deploy target
chalice deployonce deploy, chalice will output the ARNs of the resources created and API gateway base URL if you have endpoints in your application.
Invoke single function
You can use the invoke command to invoke a single function directly pm AWS using its name. This seems to be working only for functions that are not used as api endpoint.
chalice invoke -n <function name>you can also invoke the function with a payload as follows
echo '{"message": "Hello, World!"}' | chalice invoke -n <function name>View logs
You can view the functions cloud watch logs directly from the terminal
chalice logsBy default, the logs for the API handler lambda function are shown. This corresponds to any log statements made within an @app.route() call. You can view specific lambda logs by using its name.
chalice logs -n <function name>View policy
Whenever your application is deployed using chalice, the auto generated policy is written to disk in .chalice/policy.json directory to view those policies, you can run the following commands
chalice gen-policyGenerate SDK
Chalice offers a chalice generate-sdk command that will automatically generate a client SDK based on your declared routes. The supported language now is javascript. You will be able to use the generated javascript code to communicate with your chalice app endpoints.
chalice generate-sdk <output dir>Generate Pipeline
Chalice can be used to set up a basic Continuous Deployment pipeline. The chalice deploy command is good for getting up and running quickly with Chalice. You can use the chalice generate-pipeline command to generate a base CloudFormation template.
chalice generate-pipeline pipeline.jsonYou will then need to deploy the cloudfomation template using the cloudformation deploy command
aws cloudformation deploy --stack-name mystack
      --template-file pipeline.json --capabilities CAPABILITY_IAM
Generate Swagger file
Swagger has been hugely beneficial when developing RESTful APIs, being able to generate Swagger specs from a Chalice is a massive time saver. you can use chalice to gerneate swagger 2.0 models for your API.
chalice generate-modelsPackage application
When you deploy chalice apps, it doesn't create a cloudformation stack in the AWS cloud, but save the state of your infrastructure and deployed resources locally in "./chalice" directory
chalice generate-sdk <output dir>Get API Url
The last target we have in the chalice cli is chalice url command, which gets you the api gateway base url. you can use as follow
chalice urlIn the next article we will explore different event triggers supported by chalice.